

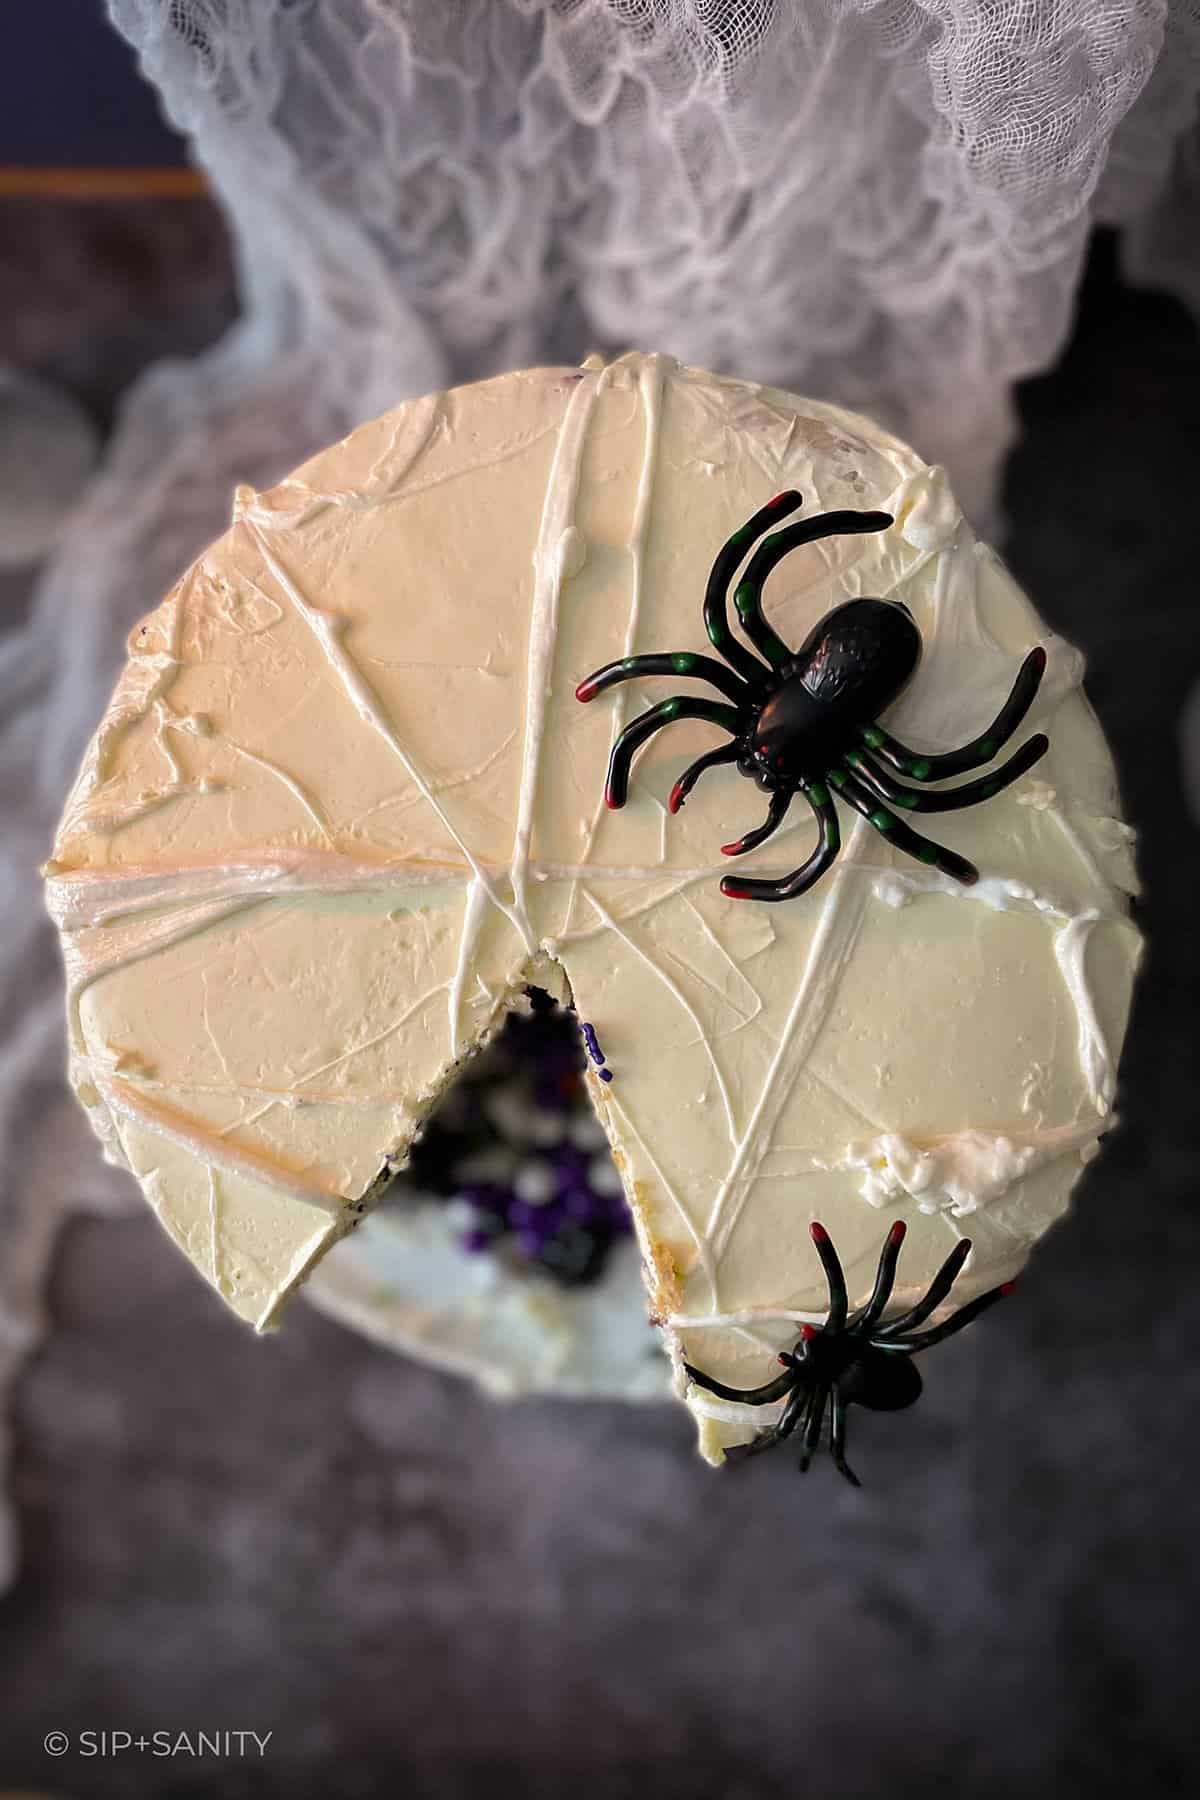
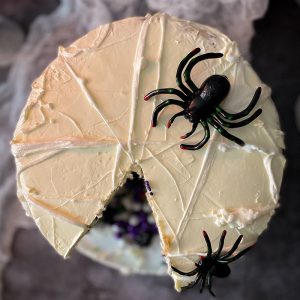
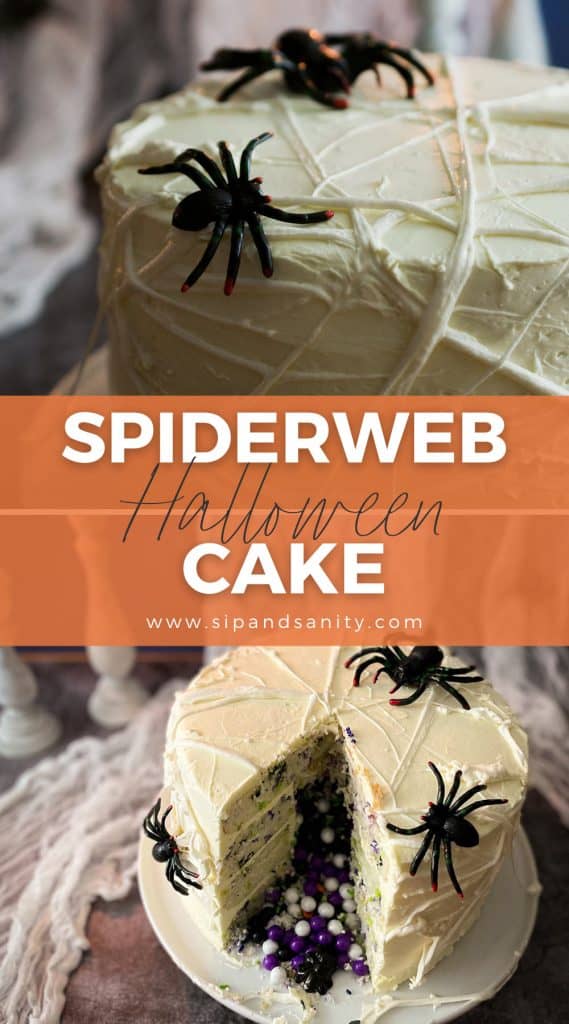
What’s more fun than slicing into a spooky marshmallow spiderweb cake? Finding a stash of sprinkles and candy inside! You’ll get double the excitement from your Halloween fans!
This Marshmallow Spiderweb Halloween Cake Has a Surprise Inside!
Cake is great. But, cake that keeps on giving is better!
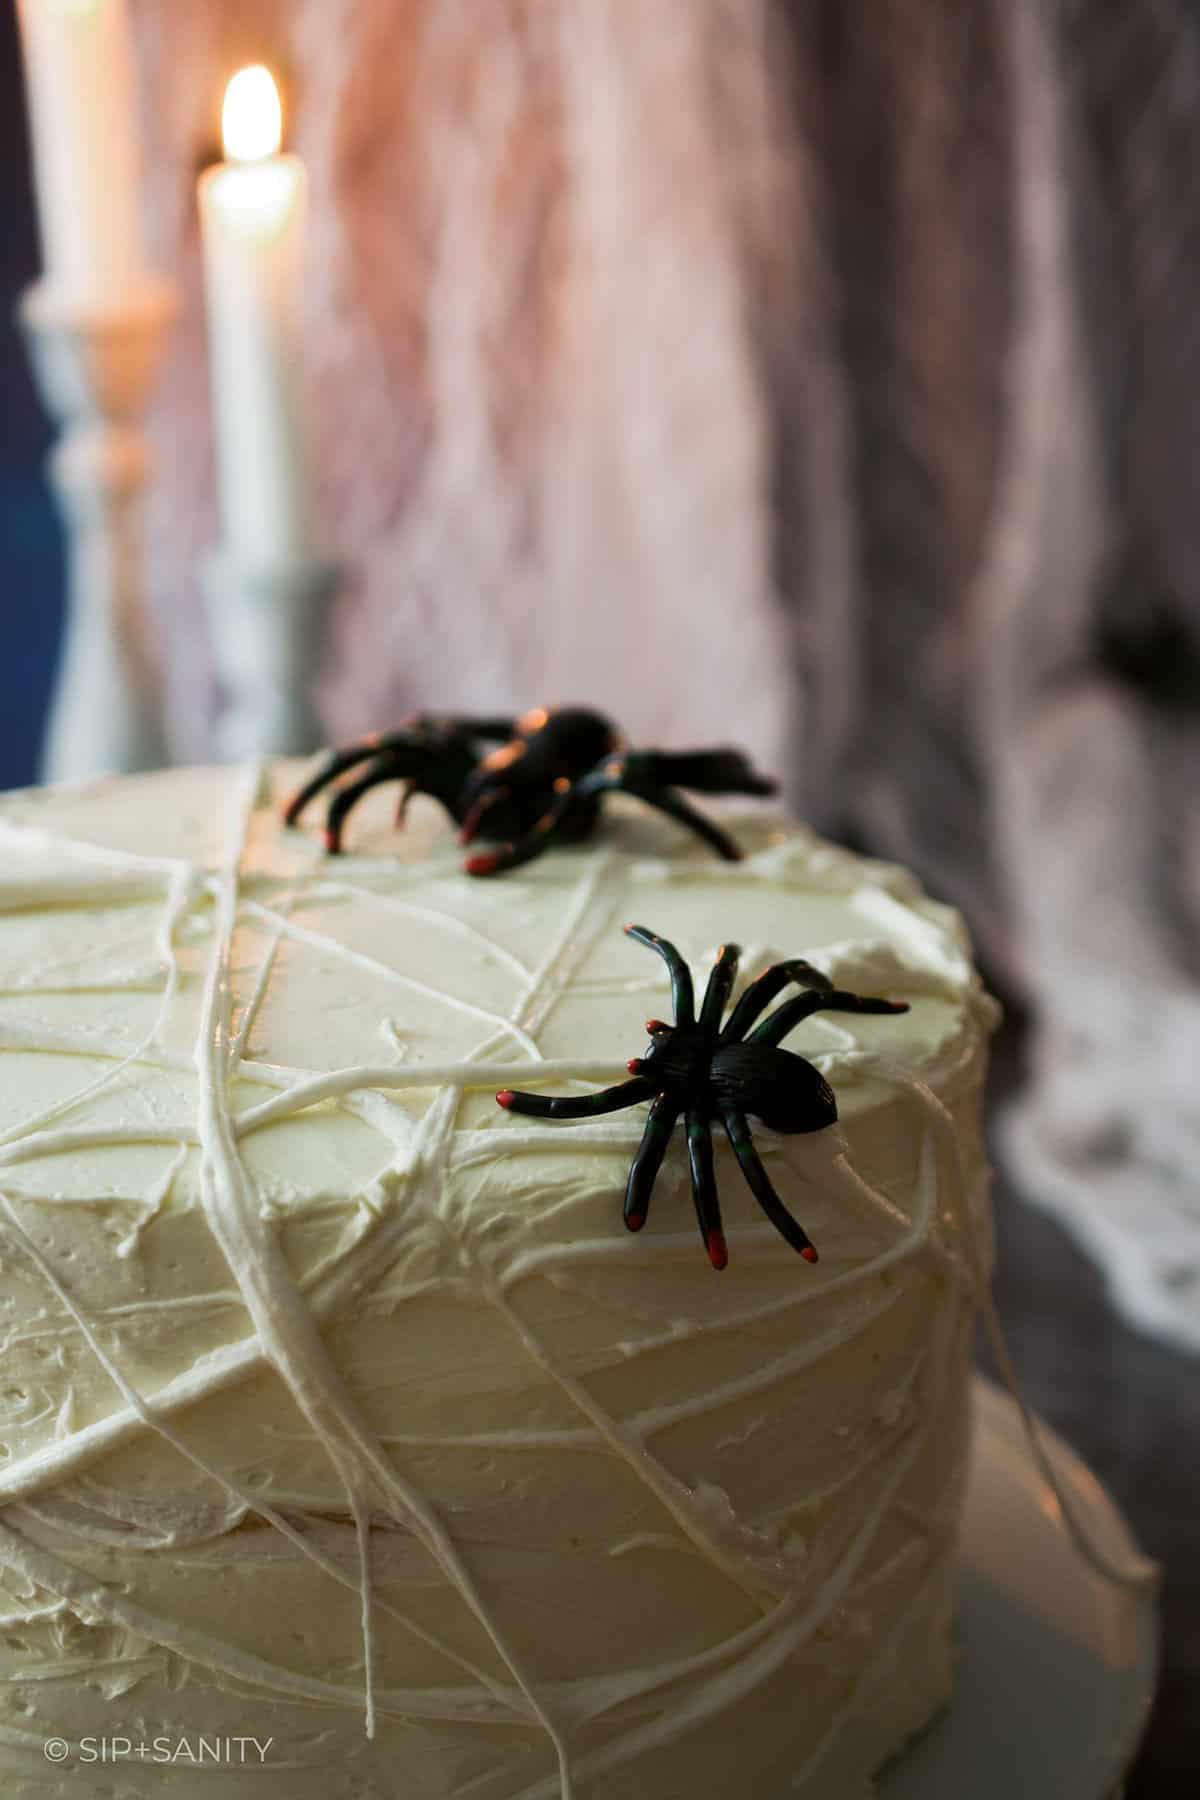
You’ll be the coolest baker on the block when you present this easy to create layer cake covered in a marshmallowy tangle of spiderweb. And, when you slice that bad boy open and out tumbles candies and sprinkles and even more spiders?
Forget about it! The kids will be talking about it all year.
Ingredients + Substitutions
This is a semi-homemade cake (you’re welcome 😉), so you’ll need just a few special ingredients to pull this off.
- Boxed white cake mix — you’ll be adding sprinkles to the batter + those really pop off the white crumb. But, really…choose your favorite flavor. You’ll need two 15.25 oz boxes. (I used Duncan Hines.)
- Water — you can substitute milk.
- Egg whites — unless you choose a different flavor of cake, egg whites only are a must. The yolks will yellow the batter.
- Vegetable oil — you can substitute melted + cooled butter or coconut oil
- Halloween themed jimmies / sprinkles — these are added to the batter and the surprise center.
- White cake icing — I used 1.5x my Swiss Meringue Buttercream recipe (with clear vanilla)…it’s totally worth the time to make it! If you’d prefer to use a store bought icing, you’ll need about four 16 oz containers.
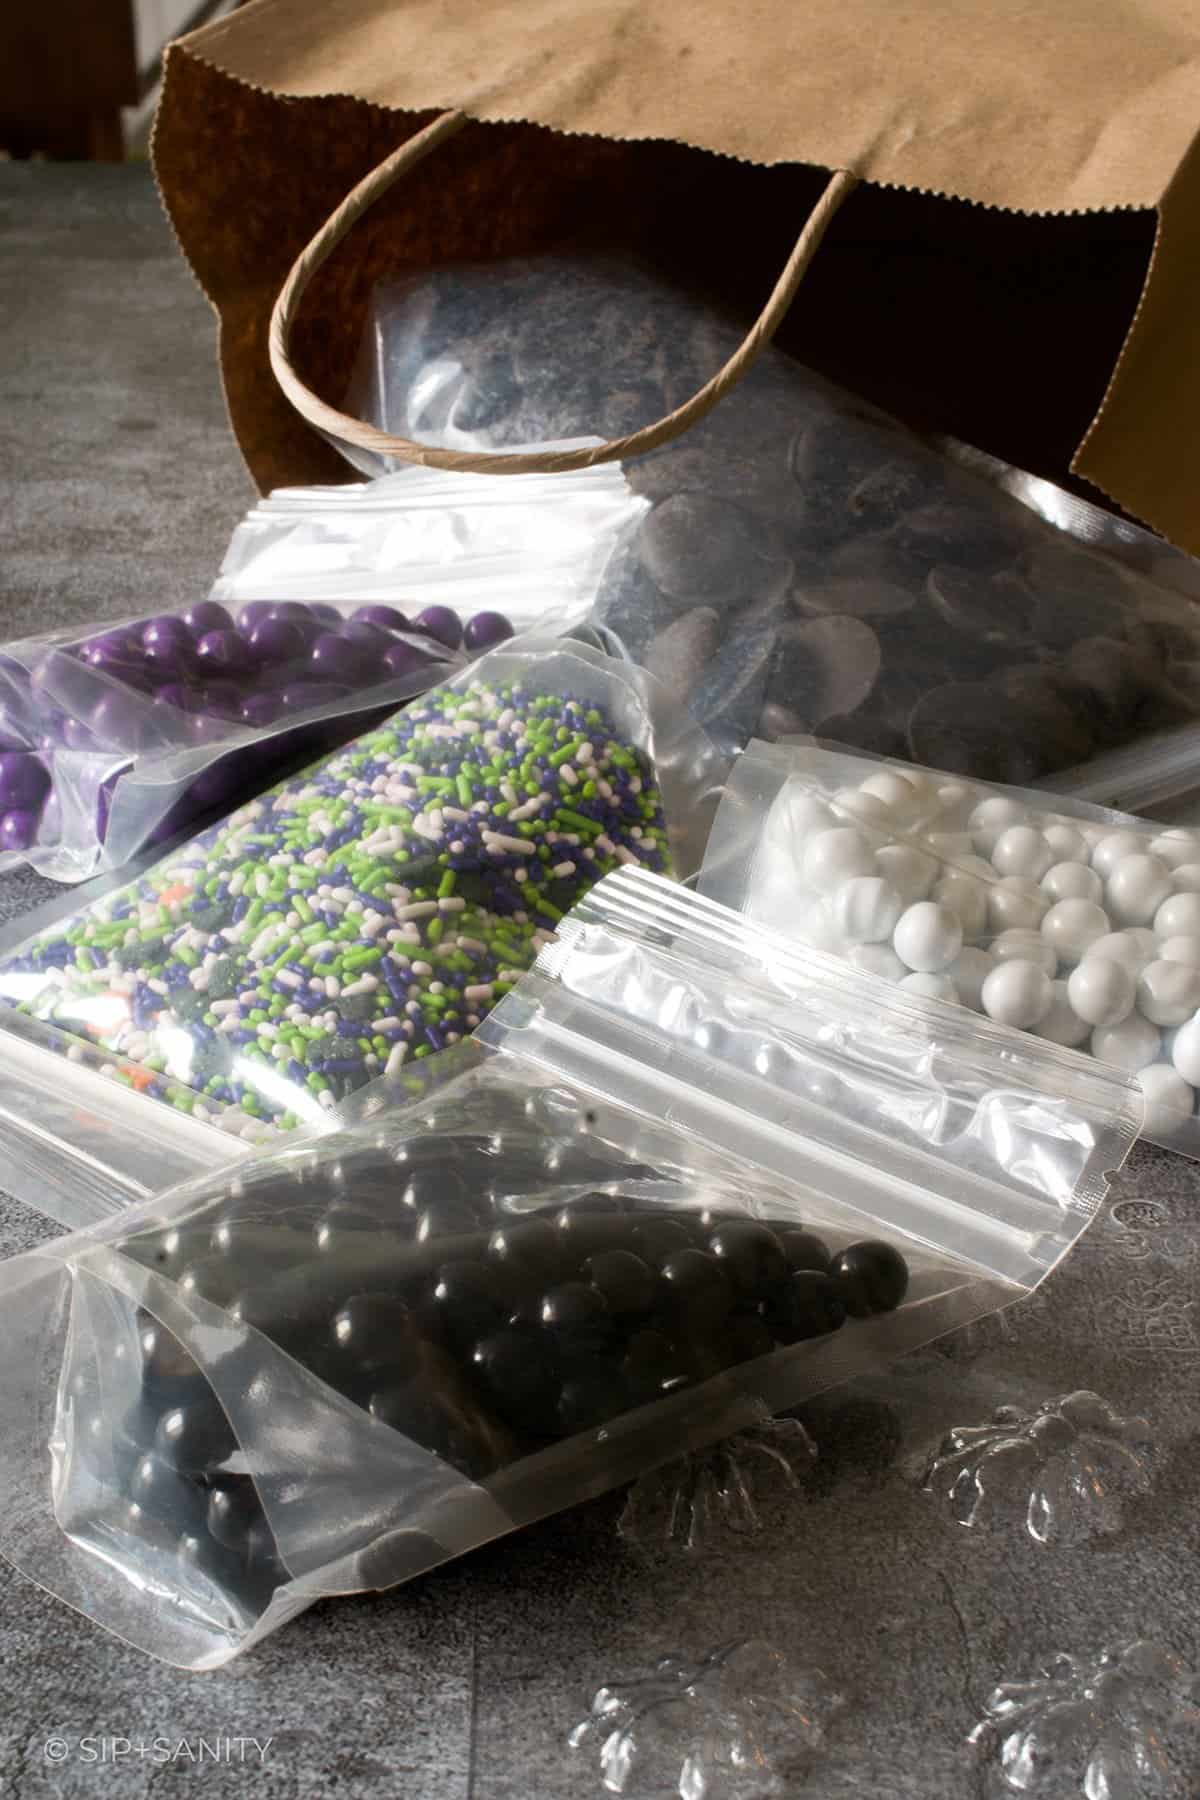
- Assorted candies, sprinkles + spiders — I used Halloween-themed colored Sixlets, jimmie/sprinkle mix (similar on Amazon) and candy melt spiders (made using a candy mold). Pick any assortment you like, you could even toss in spider rings or other themed toys. The amount you’ll need will depend on the finished size of the hole you create. You can use larger candy or plastic spiders on the outside of the cake to give it some extra oomph.
- Marshmallows — thirty seconds in the microwave and you’ve got instant spider webbing!
You’ve Got Questions…I’ve Got Answers
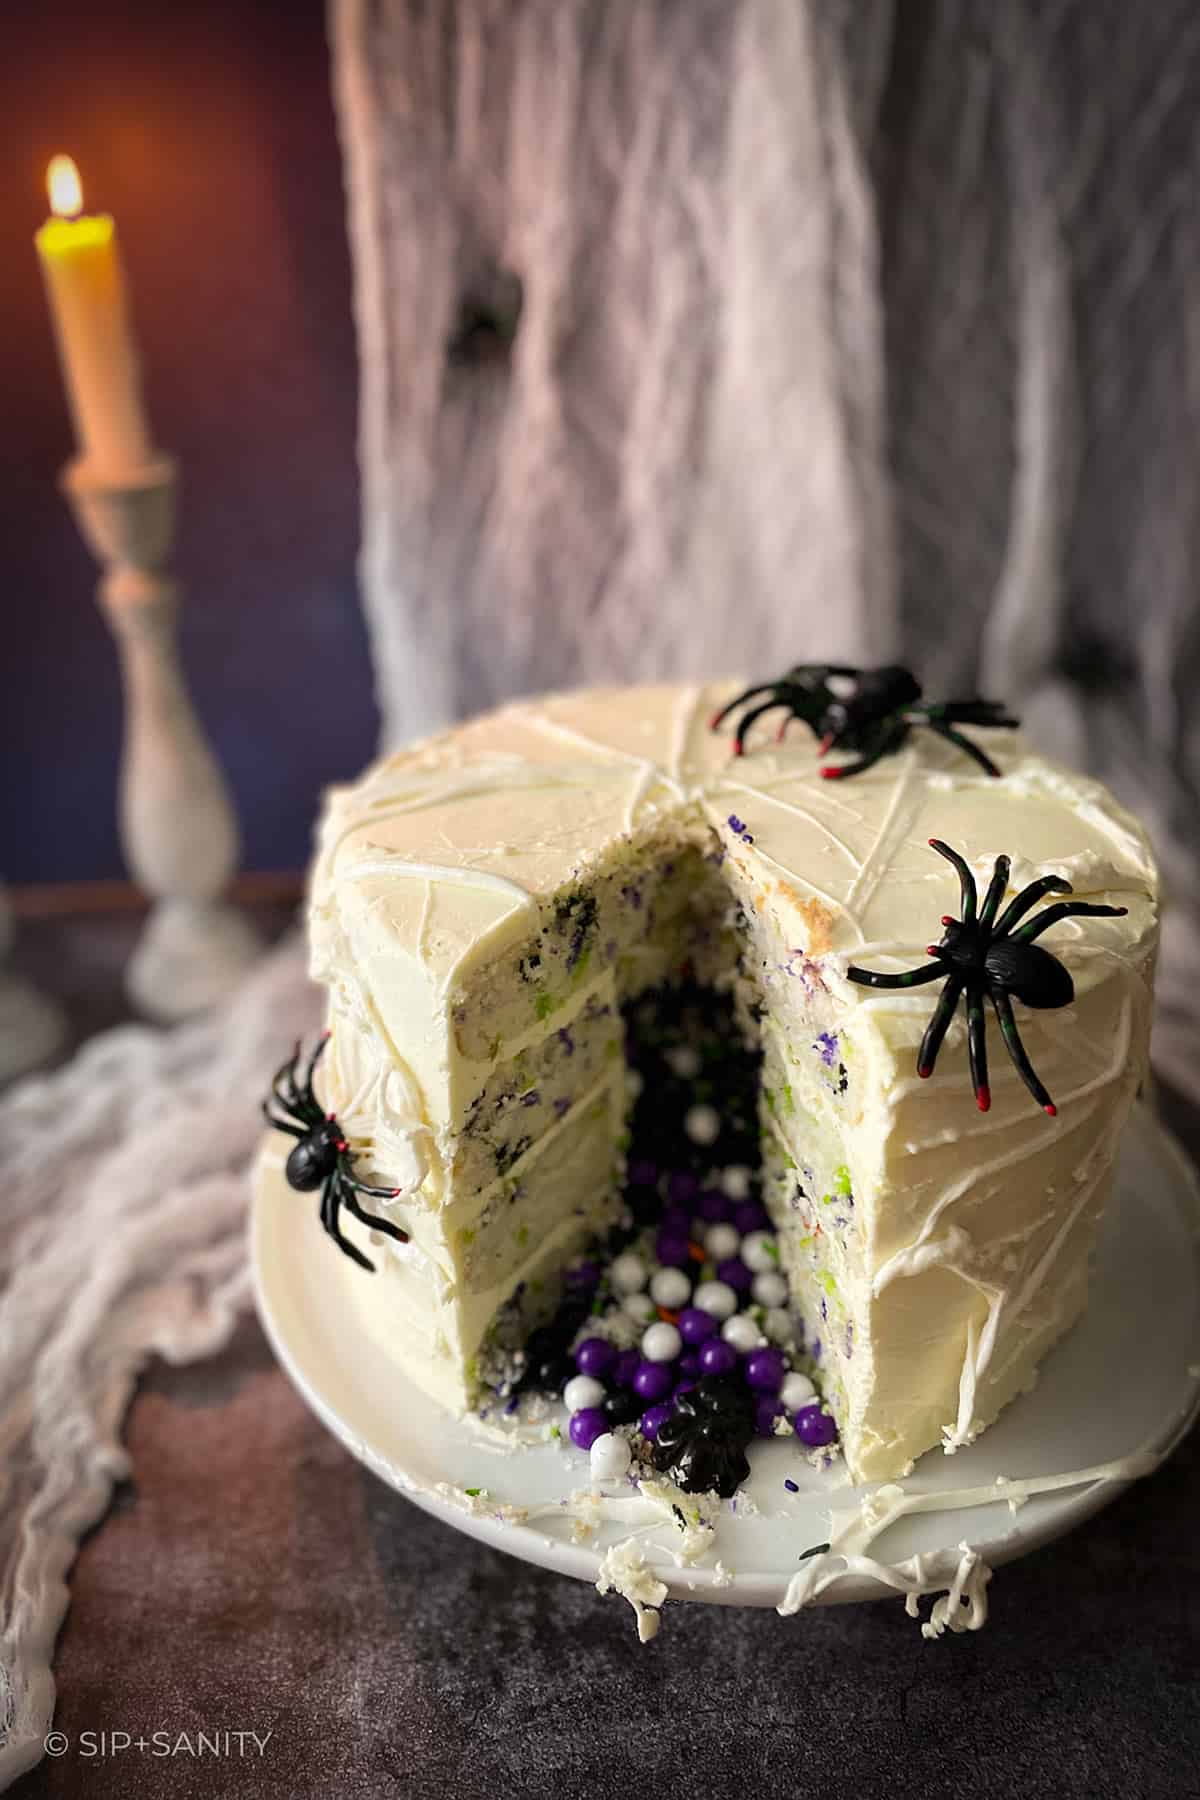
Each box will produce two 8” or 9” cakes. Because store-bought mixes tend to be super moist and tender, torting them is inviting disaster! So, I use the individual cakes as a single layer. Two boxes = four layers = tall cake = the more impressive the spill of goodies inside will be!
Well, if you have four cake pans and a big enough oven, then yes. Because most home ovens have hot spots, I would place two cake pans on a rack in the upper third and two on a rack in the lower third of your oven, then swap them halfway through the bake.
But, if you have only two cake pans (like me!), you’ll need to bake one box of mix at a time (both pans in the center of the oven). Cool the cakes 15 minutes, un-mold them to a rack to completely cool. Wash and prepare the cake pans for the next batch. 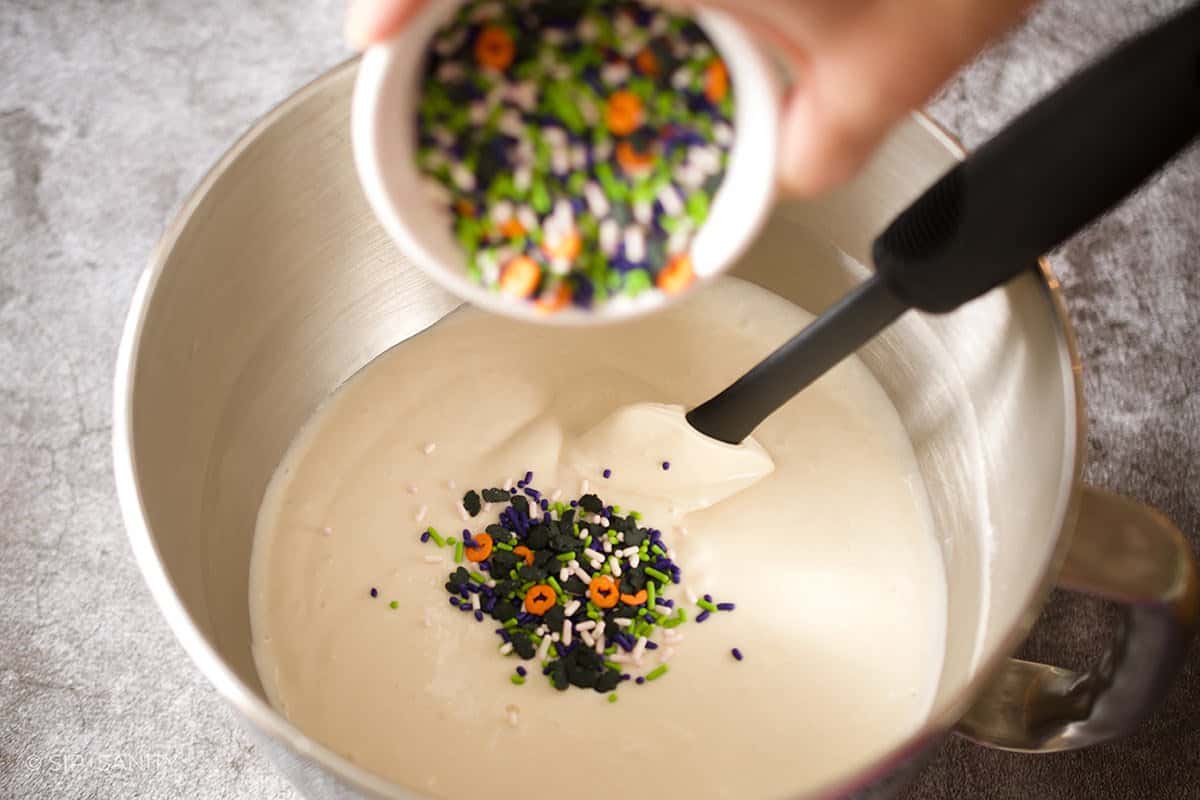
If you are using homemade buttercream, you definitely want to store your finished cake in the refrigerator. Take the cake out at least 30 minutes before you intend to slice and serve to allow the buttercream to soften. If using store-bought icing, refrigeration isn’t necessary if you’re serving the cake the same or next day. Leftovers should be wrapped tightly or placed in an airtight container and stored in the refrigerator.
Making a Marshmallow Spiderweb Halloween Cake
Step 1: Prepare the cakes per the instructions on the box. Substitute ingredients as described above, or sometimes the box will have additional substitution suggestions on a side panel. I used 9” pans (for reference). 8” pans will yield a taller cake.
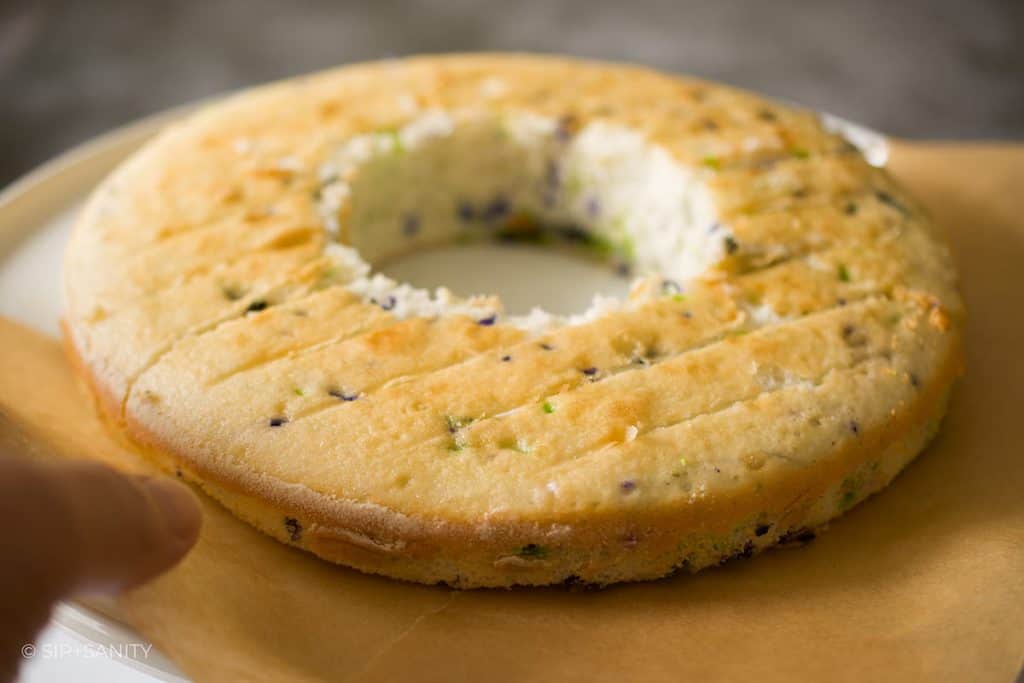
Step 2: Once the cakes are cool, level them if needed. Do this with a long knife and slice away any significant high spots (domes). Next, using a biscuit cutter or ring mold, cut a hole in the center of THREE layers only. I used a 3.5” ring on a 9” cake. When choosing which size cutter to use, think about making a hole large enough to fill, but that leaves you with enough sponge to have a sturdy cake.

Step 3: Stack the three holey cake layers, applying icing between each layer.
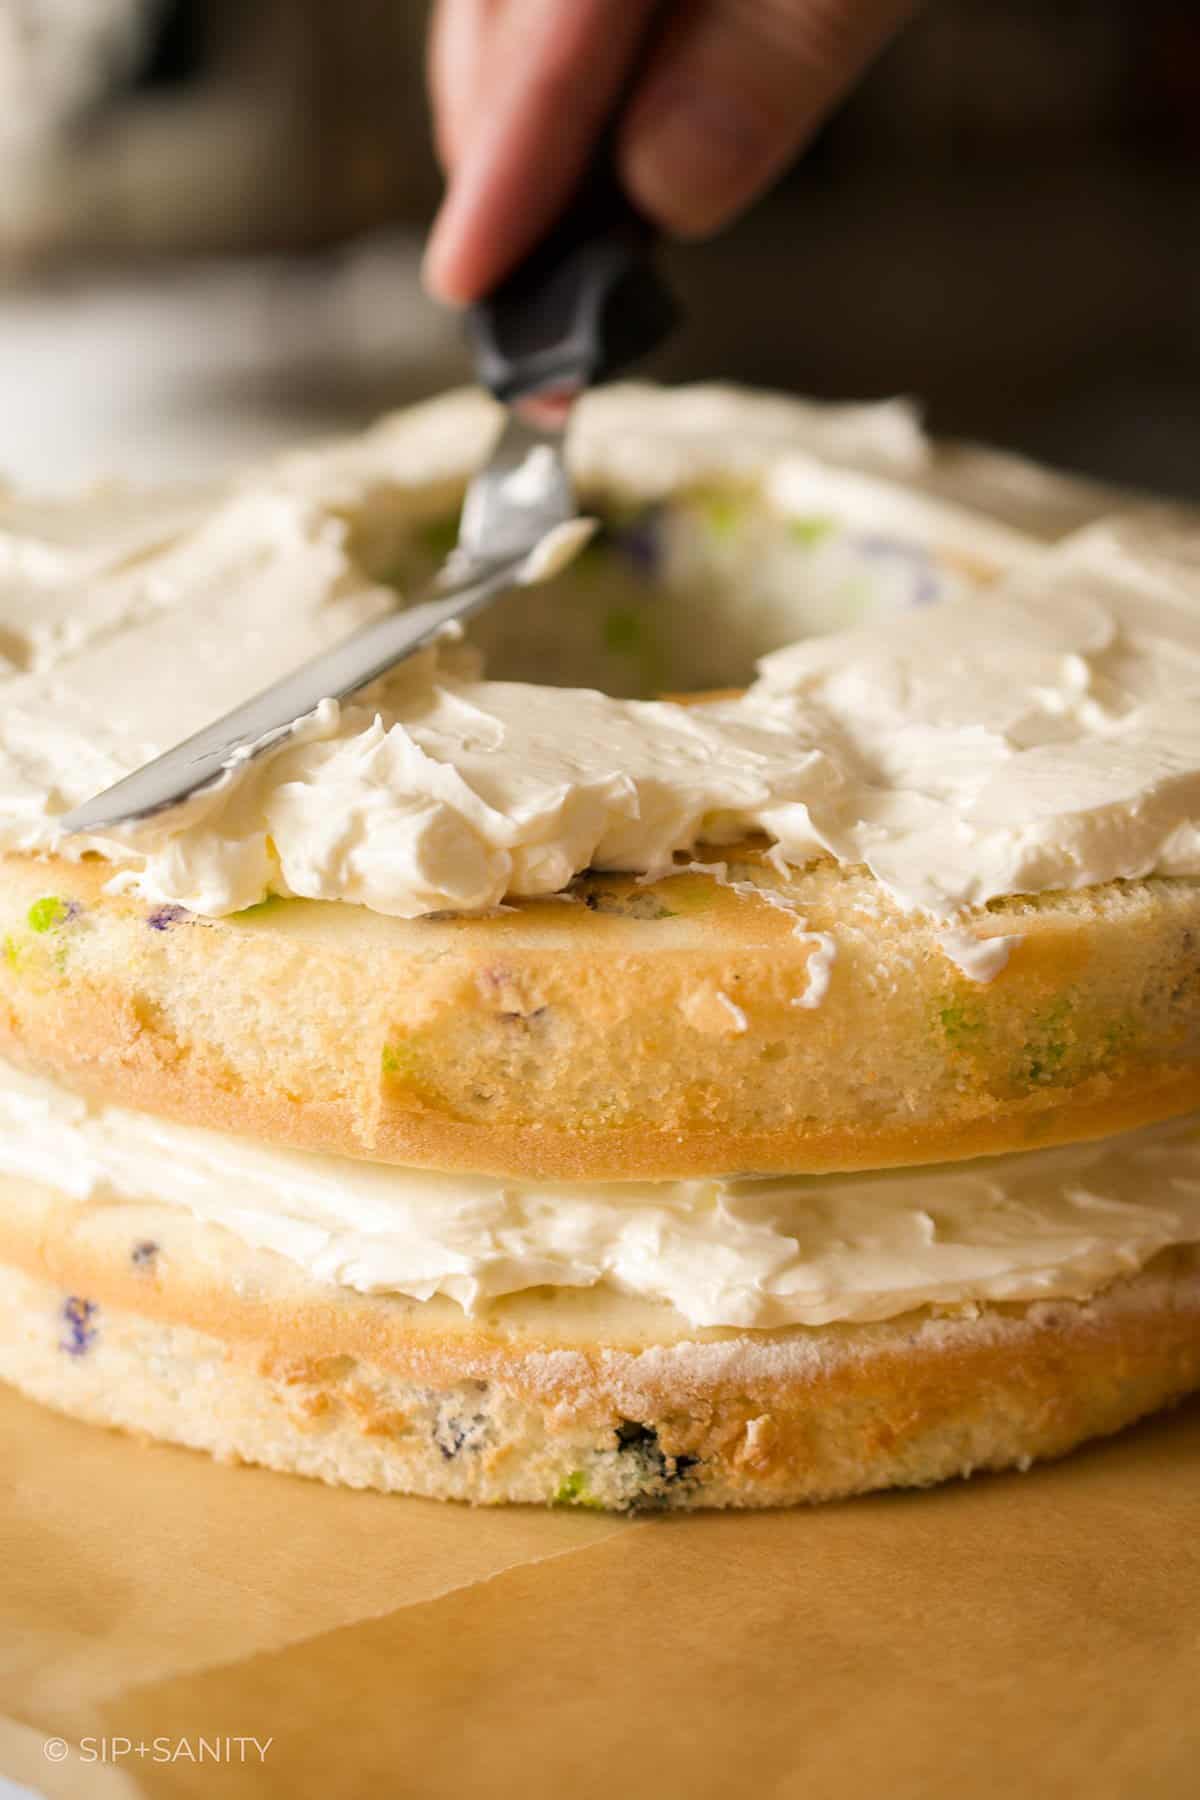
Step 4: Fill the hole with your mix of candy, sprinkles and spiders — all the way to the top.
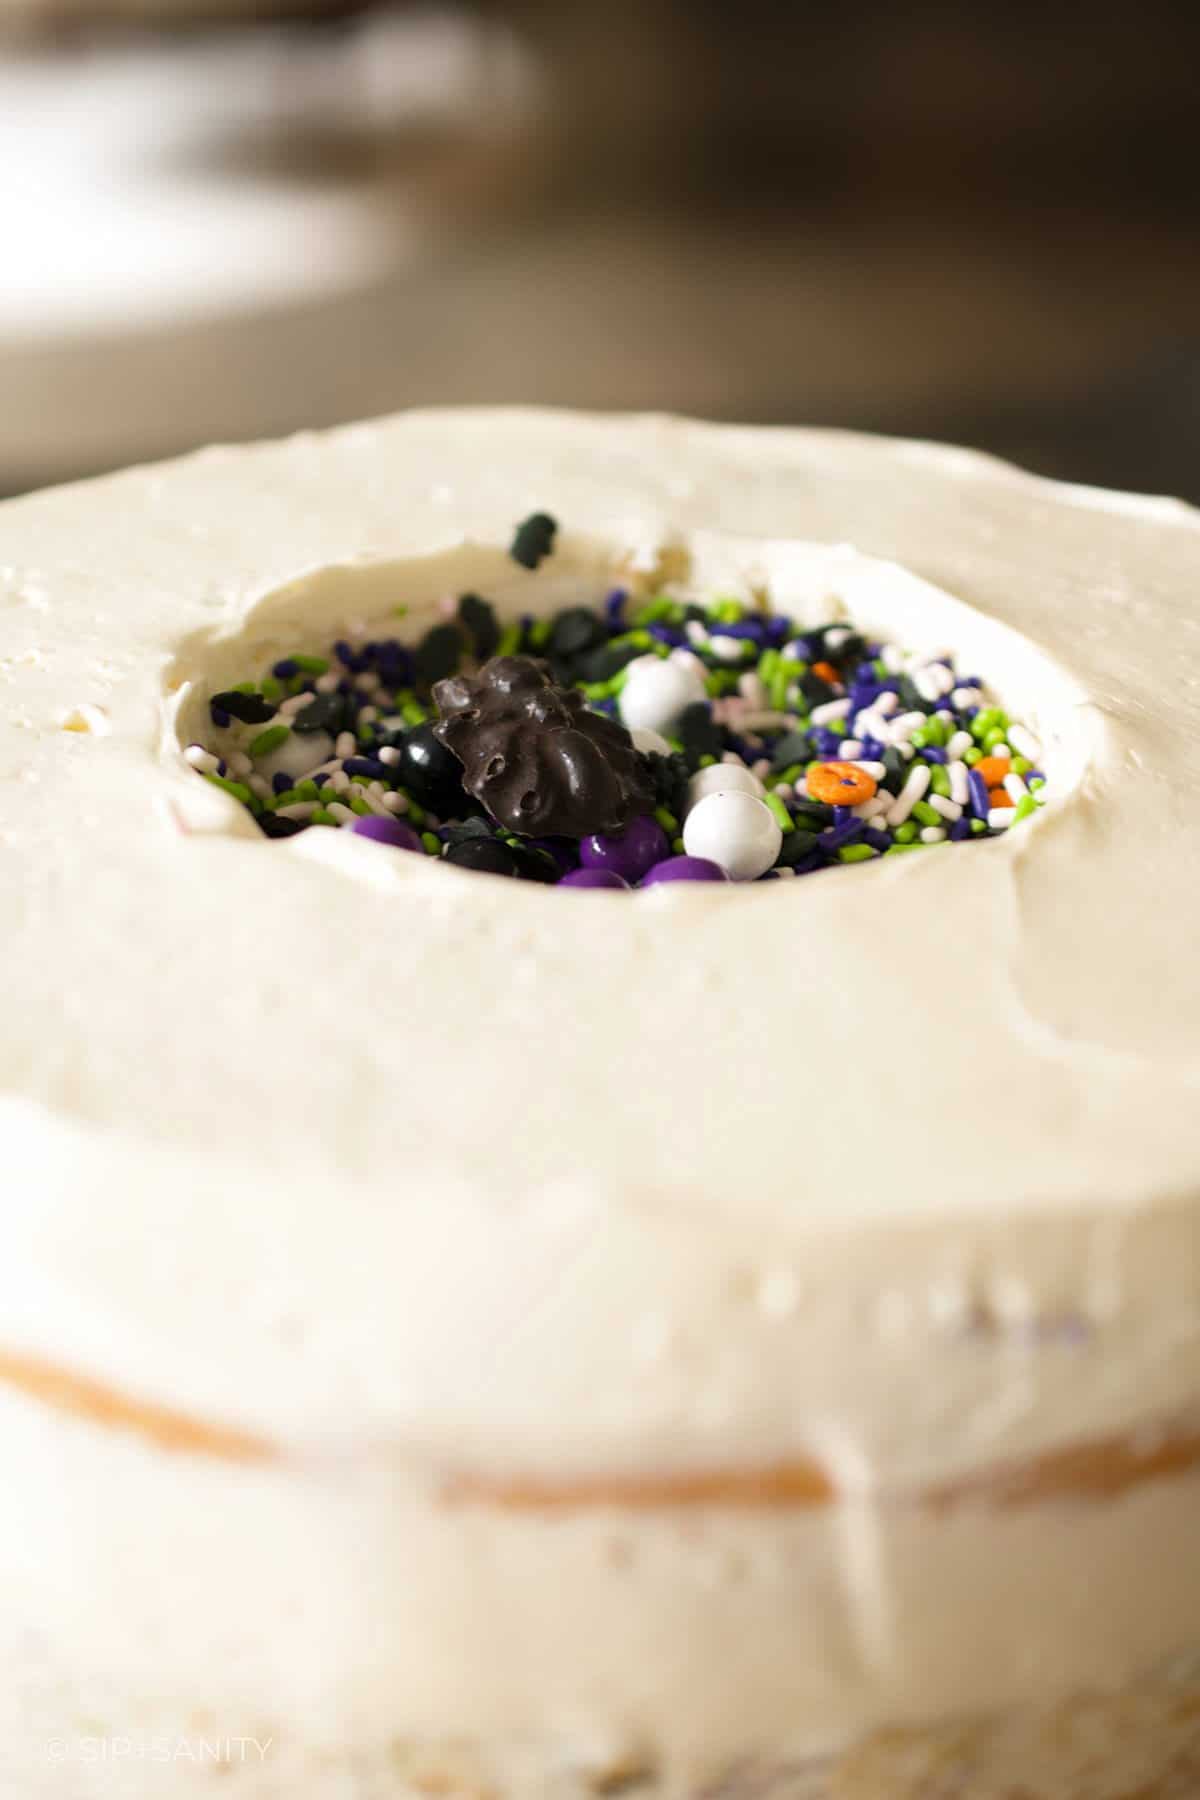
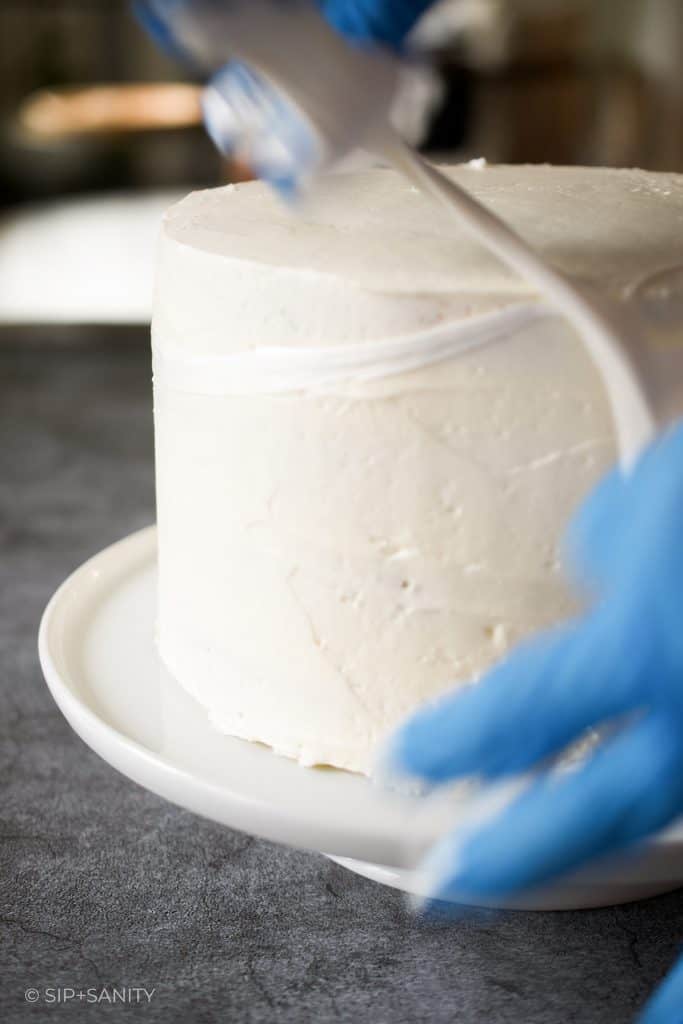
Step 5: Add the last layer of cake to the top and finish applying the icing. You can crumb coat the cake, chill it, then apply the final layer of buttercream, or just go for it. This isn’t precious.
Step 6: VERY IMPORTANT! Chill the frosted cake for 15 to 20 minutes to allow the buttercream to firm up. Store-bought icing may require additional time!
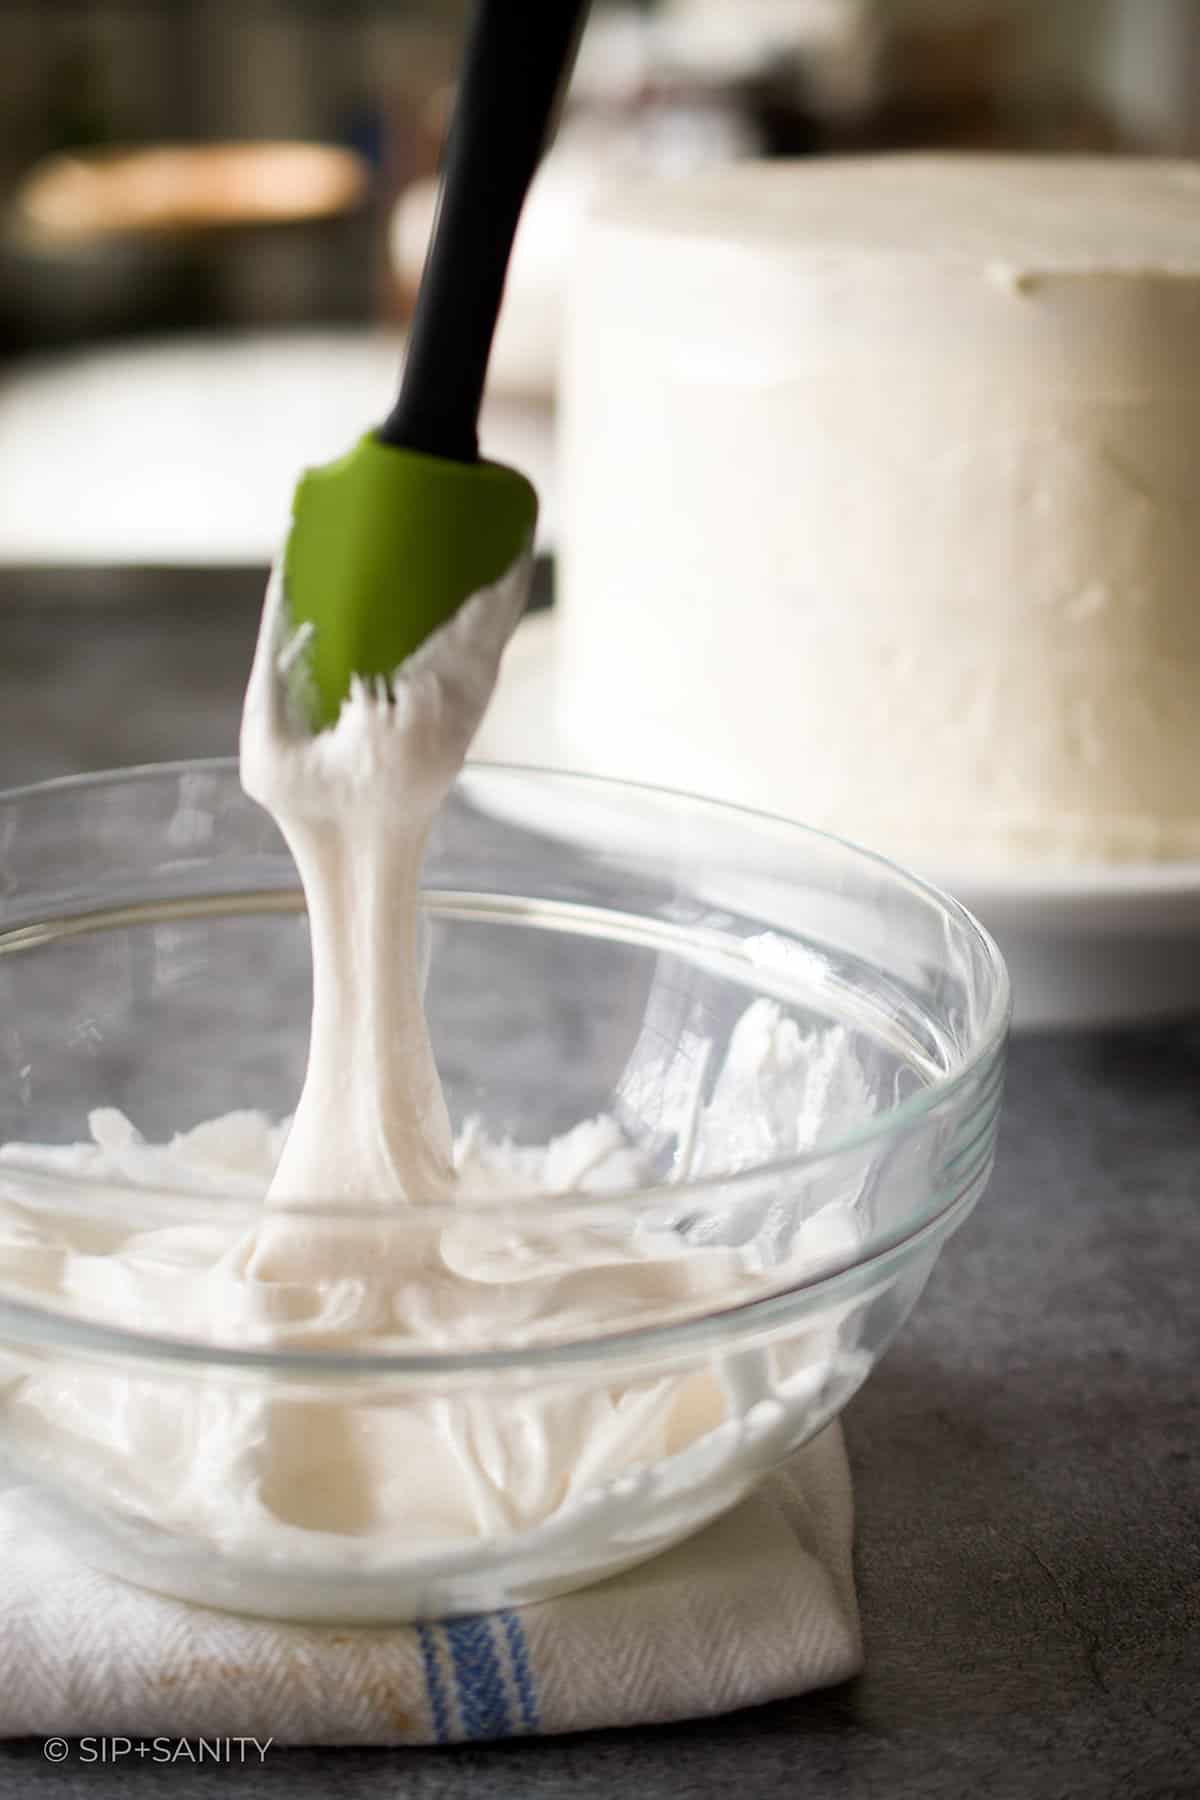
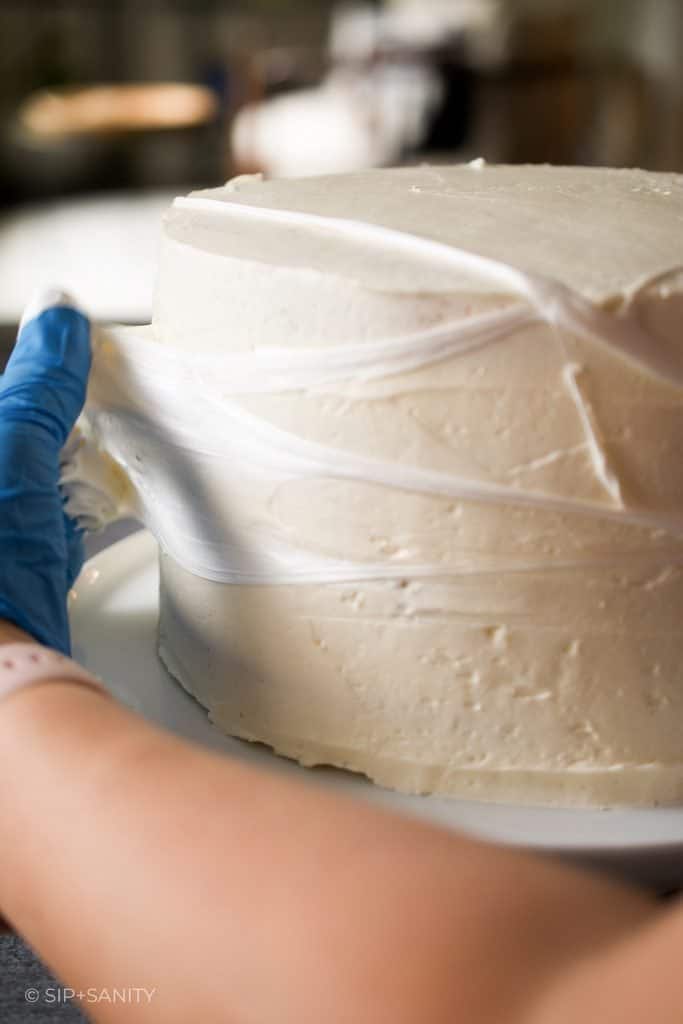
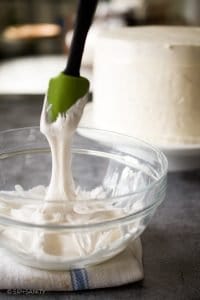
Step 7: Microwave marshmallows for 30 seconds and give them a stir. They should be melty and stringy when you pull on it. If they don’t stretch yet, give them another 15 seconds in the microwave.
Step 8: Now, take the cake out of the fridge. Using two forks or your fingers (beware, this is sticky!), pull and stretch the marshmallow over the cake in all different directions. Just have fun with it!
Some Helpful Tips
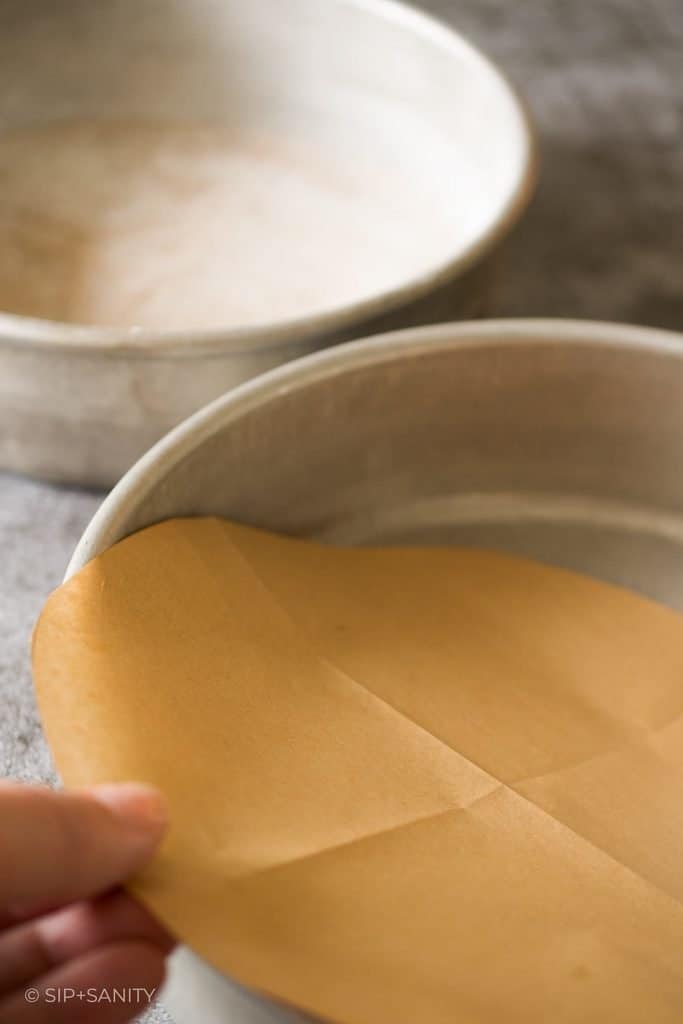
Preparing cake pans — the box will instruct you to lightly grease and flour your cake pans. I like to add a little extra insurance. After greasing the pans, I’ll add a circle of parchment to the bottom of the pan, grease that, then dust with flour.
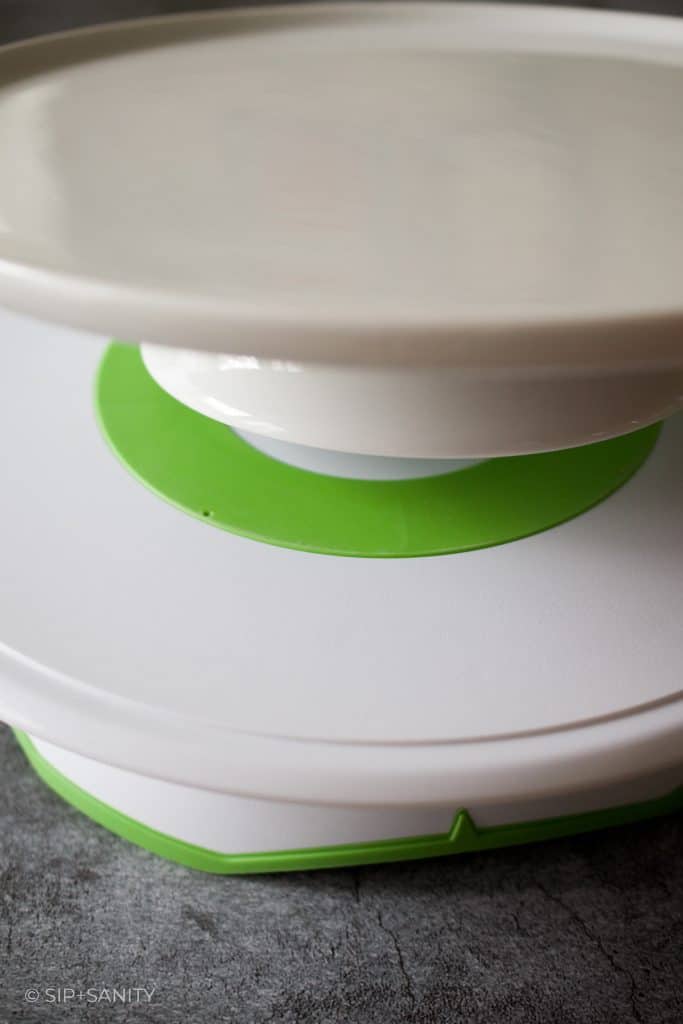
Frost the cake right on your cake stand — if you have a decorating turntable, that’s great…it’s very helpful. You can still use it, but set your cake stand on top of the turntable. My turntable has a grippy surface so the cake stand doesn’t slide around. If yours doesn’t, try using a silicone jar opener or something similar as a non-skid surface between the two.
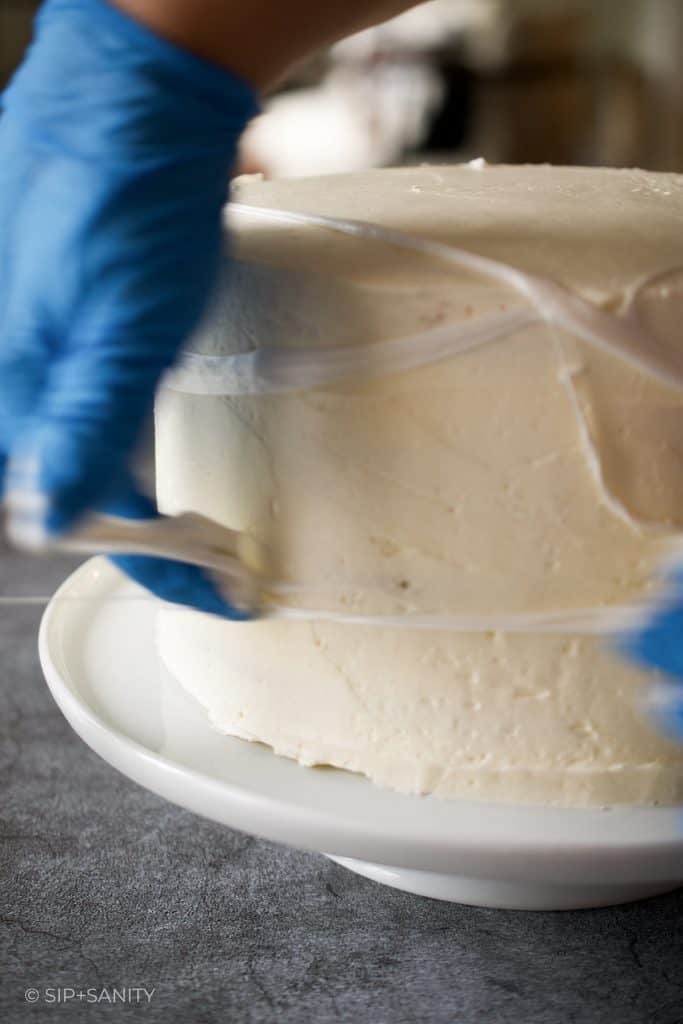
Eliminate mess on your cake stand — after you set the first layer of cake on the stand, slip strips of parchment or wax paper just under the outside edges of the cake to protect the surface of the cake stand from icing. Once your cake is completely frosted, gently slip the paper out one-by-one.
Stretching marshmallow — I’m wearing gloves in the photos, but quickly ditched them and finished with bare fingers (it was way easier). You can also use forks. However you decide to apply the marshmallow, don’t be afraid to use your cake stand as an anchor point so the marshmallow doesn’t slip off the cake (you can catch a glimpse of that in the photo below).
Some Other Seasonal Recipes to Try!
- Pumpkin Spice Latte Sweet Rolls
- Halloween Grazing Board
- Pumpkin + Maple Semifreddo
- Audrey II Tentacle Breadsticks
- Carrie’s Prom Night Red Velvet Cupcakes
- Coraline’s Portal Potion Cocktail
Marshmallow Spiderweb Halloween Cake with a Surprise Center
Equipment
- (2) 8" or 9" cake pans
- cake stand or plate
- 3" biscuit cutter or ring mold (or similar size)
- icing spatula
Ingredients
- 2 boxes white cake mix (15.25 oz boxes)
- 2 cups water, or milk
- 6 egg whites
- ⅔ cup vegetable oil, or melted butter
- 4 ounce Halloween themed jimmies / sprinkles
- 1½ recipe Swiss Meringue Buttercream (using clear vanilla), or 4 tubs of store-bought white icing (16 oz size)
- assorted Halloween themed candies, sprinkles + spiders*, to fill the center of the cake
- 12-15 marshmallows, regular size
Instructions
- Preheat oven to 350°F.
Working with one box of cake mix at a time, bake the cakes:
- Prepare 2** 8" or 9" cake pans by lightly greasing the sides and bottom and then dusting lightly with flour. For added insurance, you can place a parchment round in the bottom of the pan and grease that before you flour the pan.
- Combine cake mix with water, egg whites and vegetable oil. (Follow the recommended mixing time on the box.) Fold in 2 oz of jimmies/sprinkles. Divide the batter between two cake pans and bake per the box instructions. Cool cakes for 15 minutes, then un-mold to a cooling rack. Wash and dry the baking pans. Repeat steps to bake the 2nd box.

Assemble the cake:
- If necessary, level the cooled cakes. Using a biscuit cutter or ring mold, cut a hole in the center of THREE layers only, leaving enough of the outer sponge to have a sturdy cake.

- Stack the three holey cake layers, applying icing between each layer.

- Fill the hole with your mix of candy, sprinkles and spiders — all the way to the top. Add the last layer of cake to the top and finish applying the icing.
- Chill the frosted cake for 15 to 20 minutes (or longer for store-bought icing) to firm up the icing.
- Microwave marshmallows for 30 seconds and give them a stir. They should be melty and stringy when you pull on it. If they don’t stretch yet, give them another 15 seconds in the microwave.
- Remove the cake from the fridge. Using two forks or your fingers, pull and stretch the marshmallow over the cake in all different directions. Add a couple spiders for the full effect!

Notes
Pin for Later! Marshmallow Spiderweb Halloween Cake
What a fun cake for Halloween! I love the candies inside! I’ll be making this for my kids this year! Thanks!
I LOVE this and have a 5 year old that is going to flip when we make this together! Thanks for the excellent idea.
What a fun recipe to try! Those surprise middles are such a fun way to add some festivity to your cake! Love this!