It’s National Dog Day so why not celebrate your dog with a pet pub DIY!
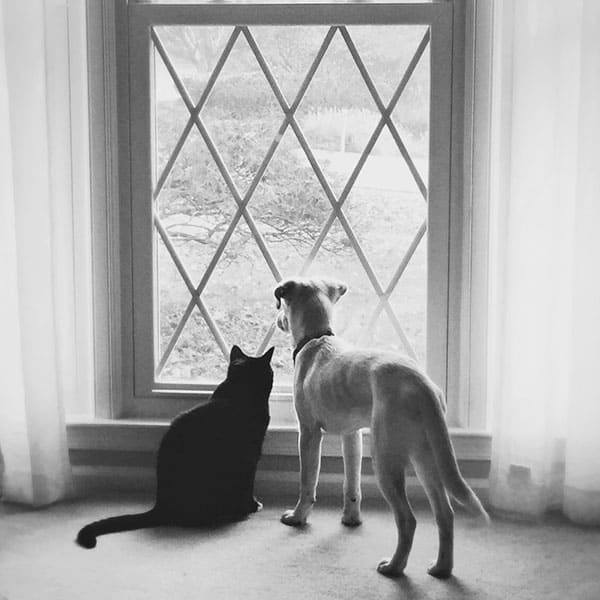
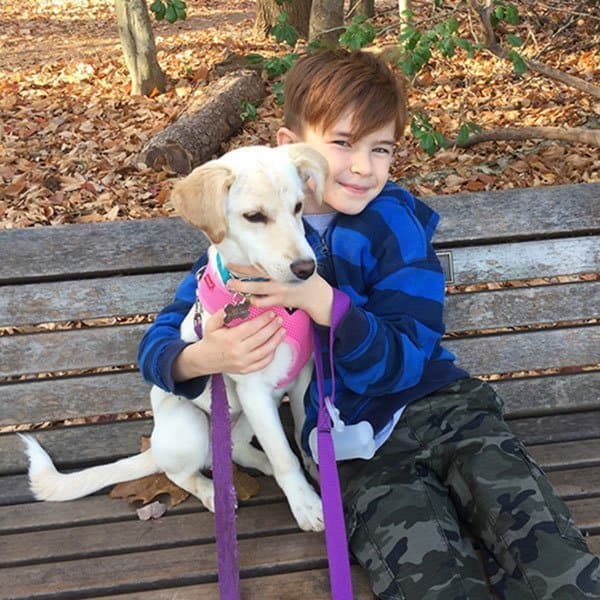
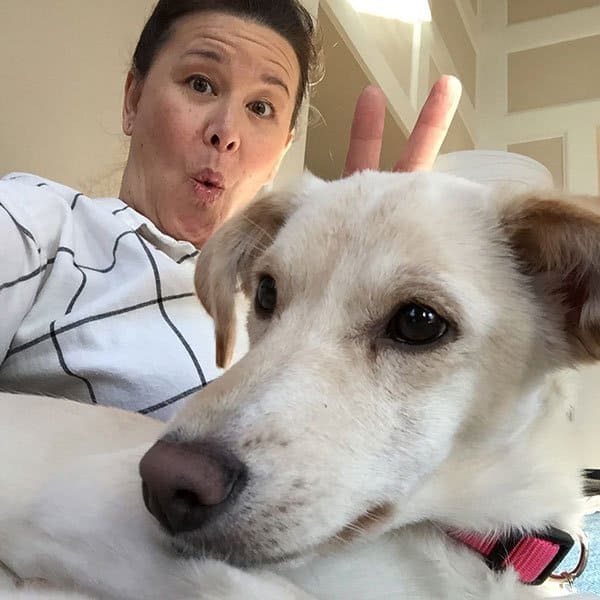
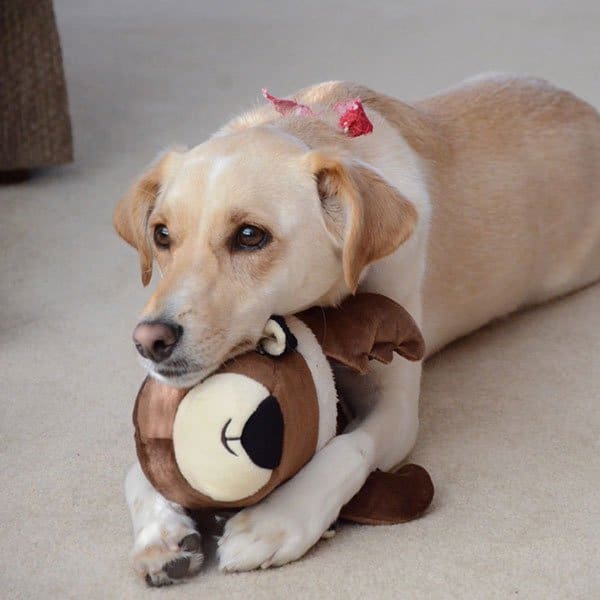
But first, a montage of our sweet Sooshi!


When the cat refused to drink from any source other than a faucet, we purchased a pet water fountain. It provides a constant flow of filtered water for our fur babies, and the sound of a calming, babbling brook for the humans. The downfall — lots of over splash on the adjacent wall and baseboard, not to mention the unsightly power cord.
The pets’ food and water are kept on a mat, but even that won’t protect the floor from long-term spillage and did nothing to protect the wall. The solution was to construct a food + water center to create a barrier between.
We had saved pallets from a hardscaping delivery and have lots of other scrap wood from various projects, so I was able to design a solution to use what we had on hand. The result is a two-piece pet pub that adds a layer of protection for the floor, hides the power cord, and eliminates over splash on the wall.
Whether you have scrap wood laying around or need to make a trip to the home center, here are the steps to create your own pet pub.
Pet Pub DIY How-To
Step 1 – Measure Your Space
Measure for height, width and depth to determine the overall dimensions of your finished pet pub. The footprint of our pet pub was made to fit on top of the existing mat, and its height is tall enough to completely hide the power outlet.

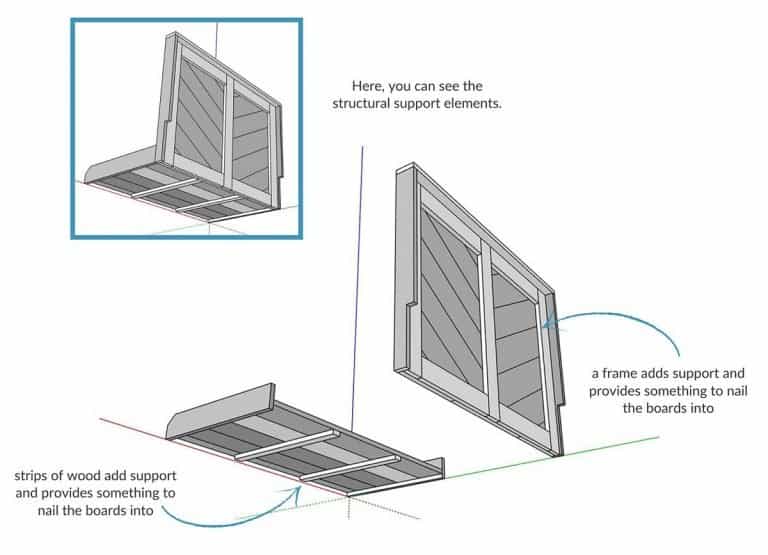
Step 2 – Create a Sketch for Your Pet Pub
I use the free version of SketchUp, but a hand drawn sketch will do — this doesn’t have to be fancy! You can use my drawing as a jumping off point or create something all your own.
Don’t forget the structural pieces (see the drawings below). You’ll need to have something to nail your boards to.
The chevron pattern I designed into the back complicated the cuts a bit, but you could certainly choose to use horizontal or vertical board construction instead.

Step 3 – Select Your Wood + Gather Supplies
If you are a novice, I would suggest using as much precut lumber as possible. Armed with your sketch, visit the lumber section at your home center to look at the assortment of dimensional lumber and project boards they have available. You should be able to find boards the width and thickness right for your pet pub. All you’ll need to do at that point is make straight cuts for length.
We have a boat load of power tools, but if you don’t, that’s ok! We used:
- miter saw (to trim boards to length and for angled cuts)
- table saw (to trim boards to width)
- carpenter square
- air compressor
- nail gun + nails
- drill (to drill a hole for the water fountain power cord)
- tape measure + pencil
- sand paper
At the very least, you’ll want:
- tape measure + pencil
- miter box + hand saw
- drill + wood screws or hammer + finish nails (be sure that your screws or nails are the proper length for connecting the pieces…not too long or short)
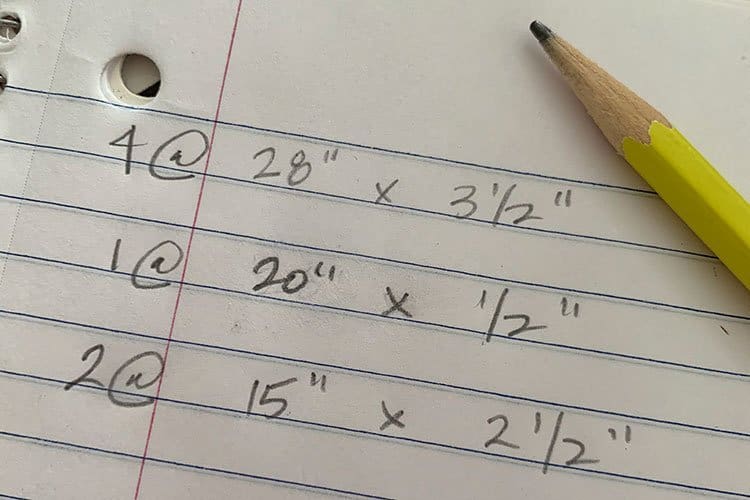
Step 4 – Make a Cut List
Now you’ll have to do some math. Using the dimensions of your chosen wood, the overall dimensions from Step 1 and your sketch, you will determine the length of each piece you need. Make a list, noting the quantity and dimensions.
Step 5 – Assemble Your Pet Pub
Be sure to sand rough edges or ends before assembling. Assemble your pet pub on a wide, level surface (we used our garage floor). If you have a carpenter square, use it along the way.
We assembled the base and back separately, making it easier to transport or stow away.
All the boards on our pet pub are face nailed or end nailed into each other or into the structural pieces. Be mindful when end nailing — this can cause the ends of a board to split.

Step 6 – Stencil + Finish the Pet Pub
If your pet pub is constructed with new lumber, you’ll want to stain it before stenciling. Because our pallet wood had a nice patina, I skipped this step.
If you’re like me and don’t have a large format printer, you’ll need to get creative. I created the stencil design as separate elements in separate documents. After printing each document, I cut out the letters, then pieced each document together with good old cellophane tape. It’s not sexy, but it works!
I stenciled the design with a foam brush and trim paint. Once dry, I coated the entire pet pub (base + back) with a polyurethane spray.


Don’t forget to try out my other DIY projects. Let me know if you try this Pet Pub DIY! And, don’t forget to share pics of your favorite pooch #nationaldogday!