Free Printables
Who doesn’t love a good printable?! From home organizing to holiday celebrations, this growing catalog of solutions can help save your sanity.
The description below each image links to the original blog post where you can download each printable. Be sure to bookmark this page so you can easily access the list.
But, there’s an even easier way to get access to these resources!
Become a Sip + Sanity Newsletter subscriber and you’ll get access to the Printables Pantry where you can view and download all of them in one place! You’ll also get bonus printables that aren’t available anywhere else on the blog.
Printables Pantry
Sign up for our newsletter and get access to all Sip + Sanity printables on a single page!
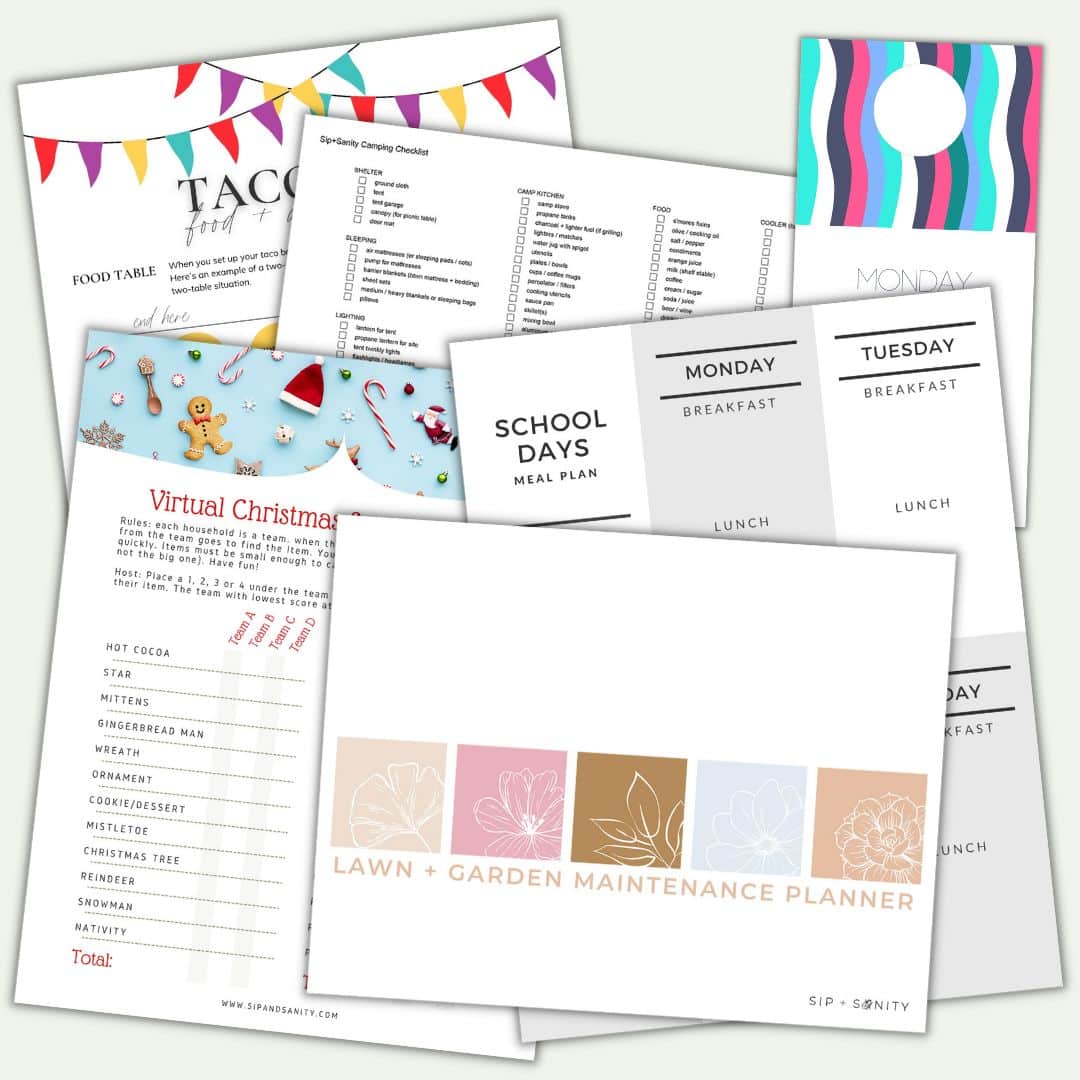
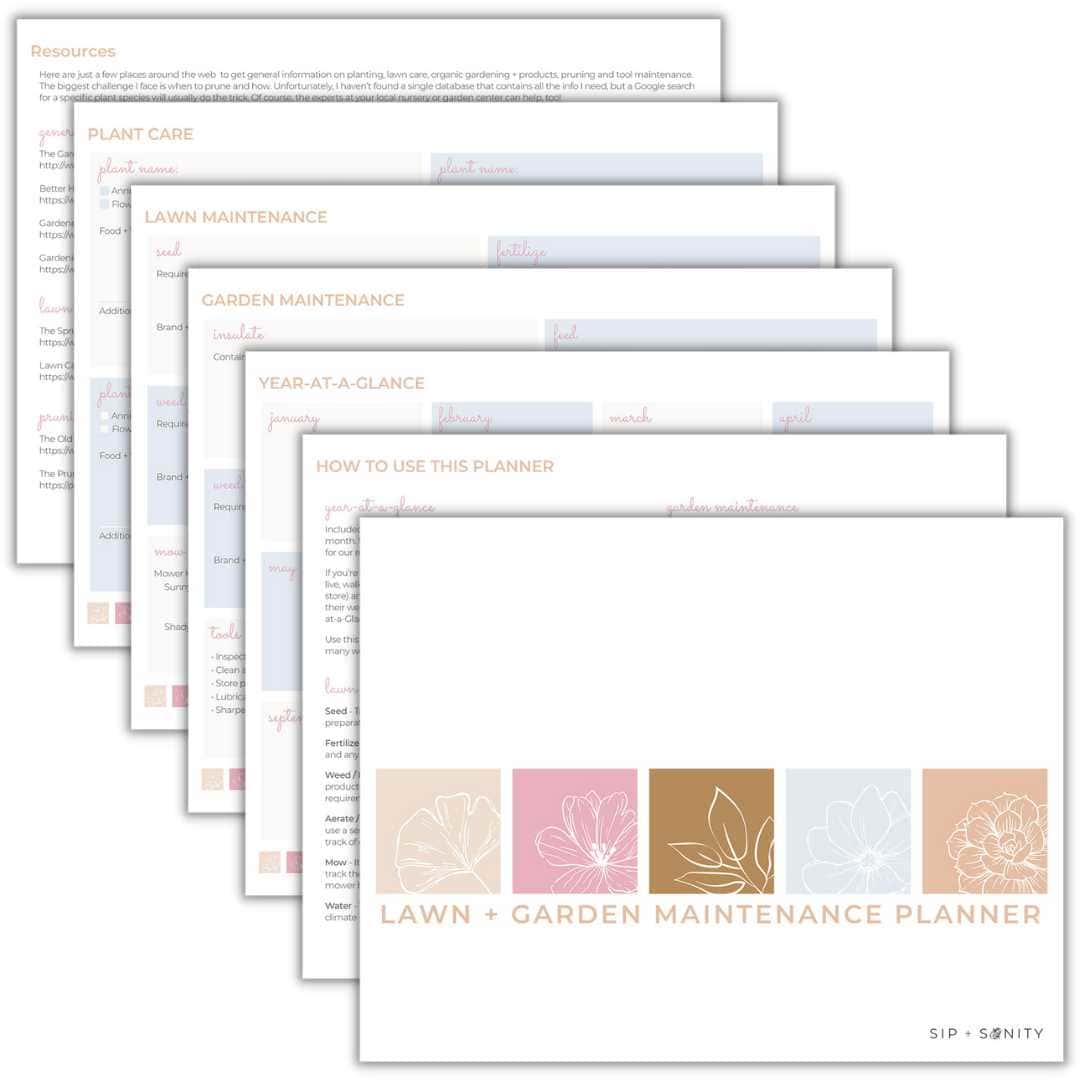
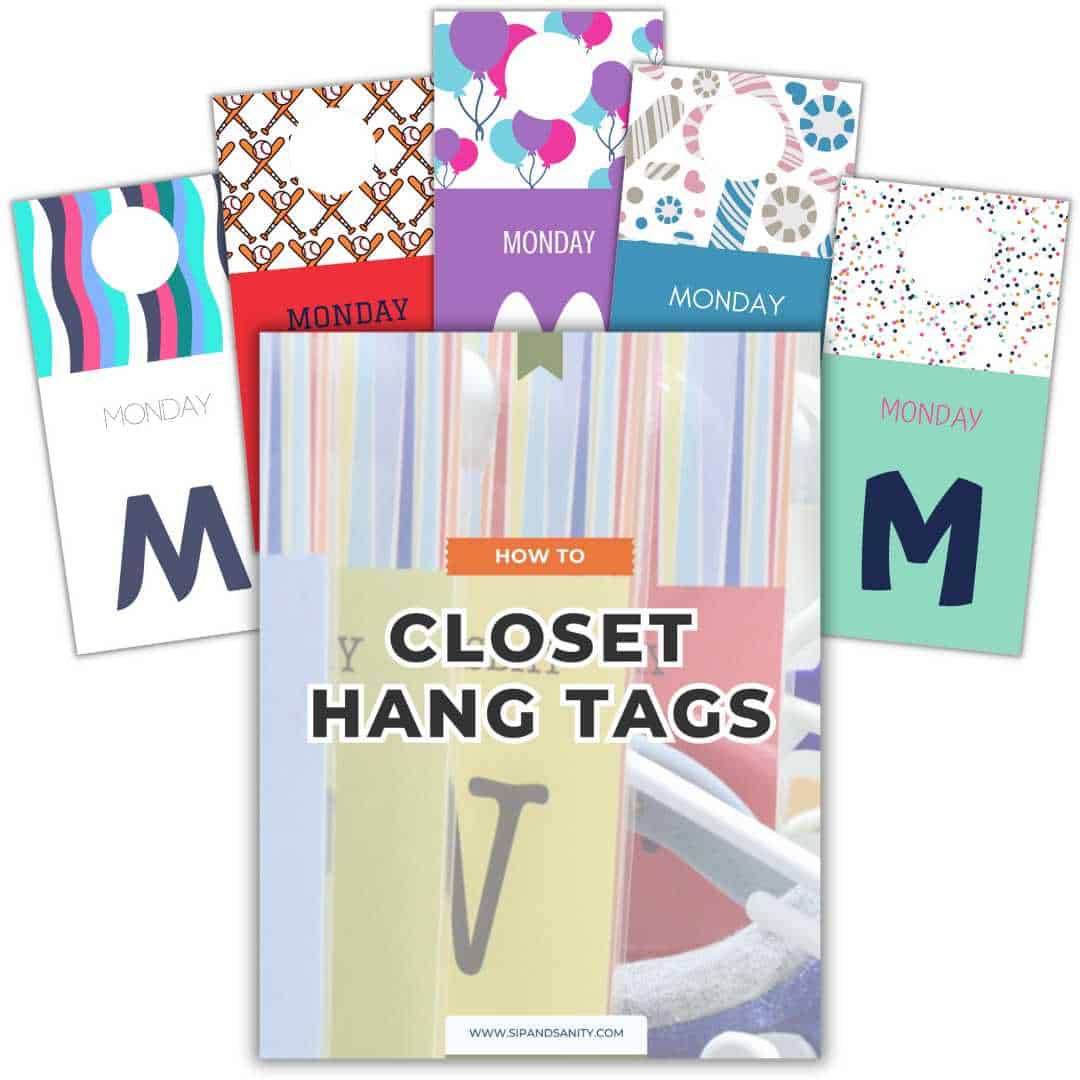
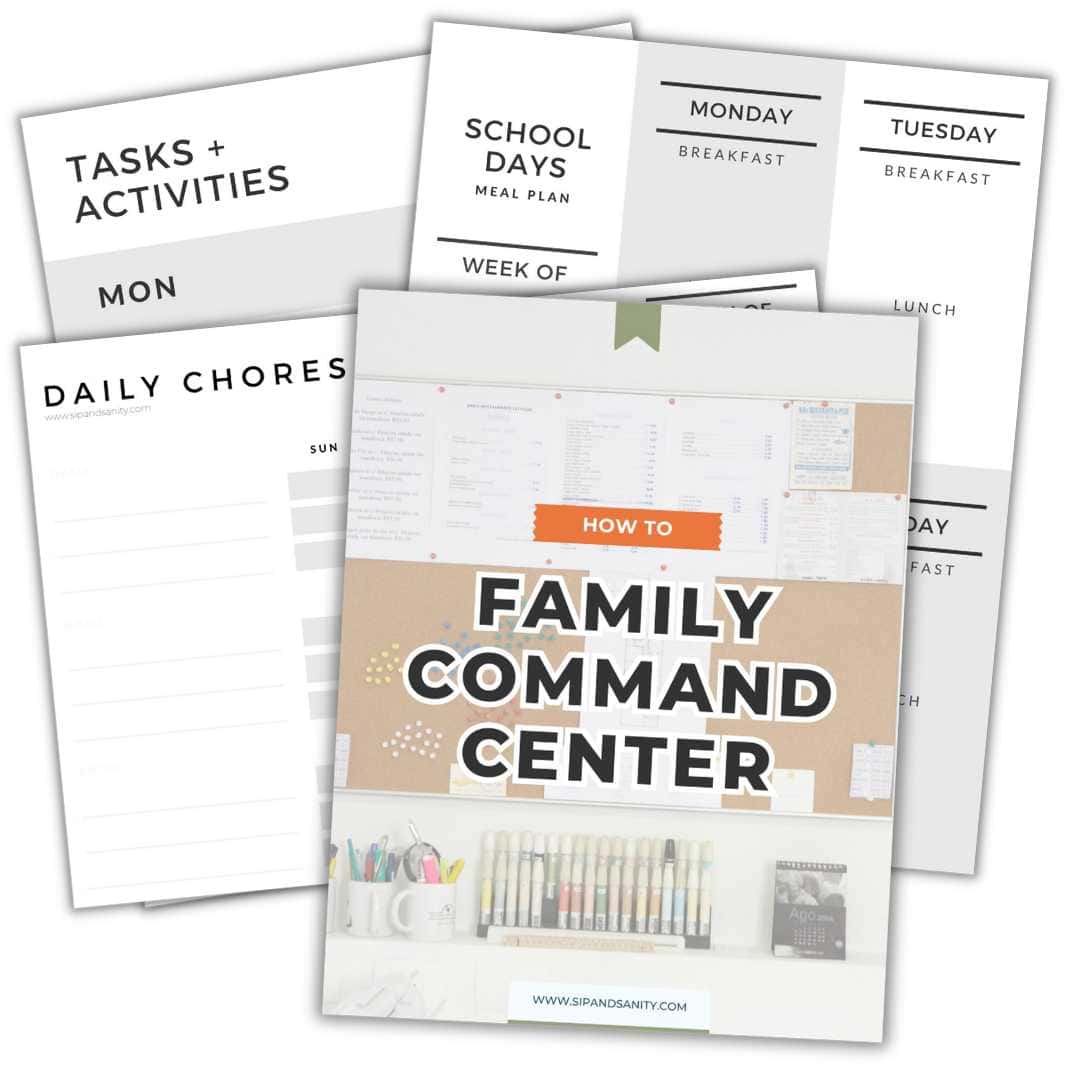
Home + DIY

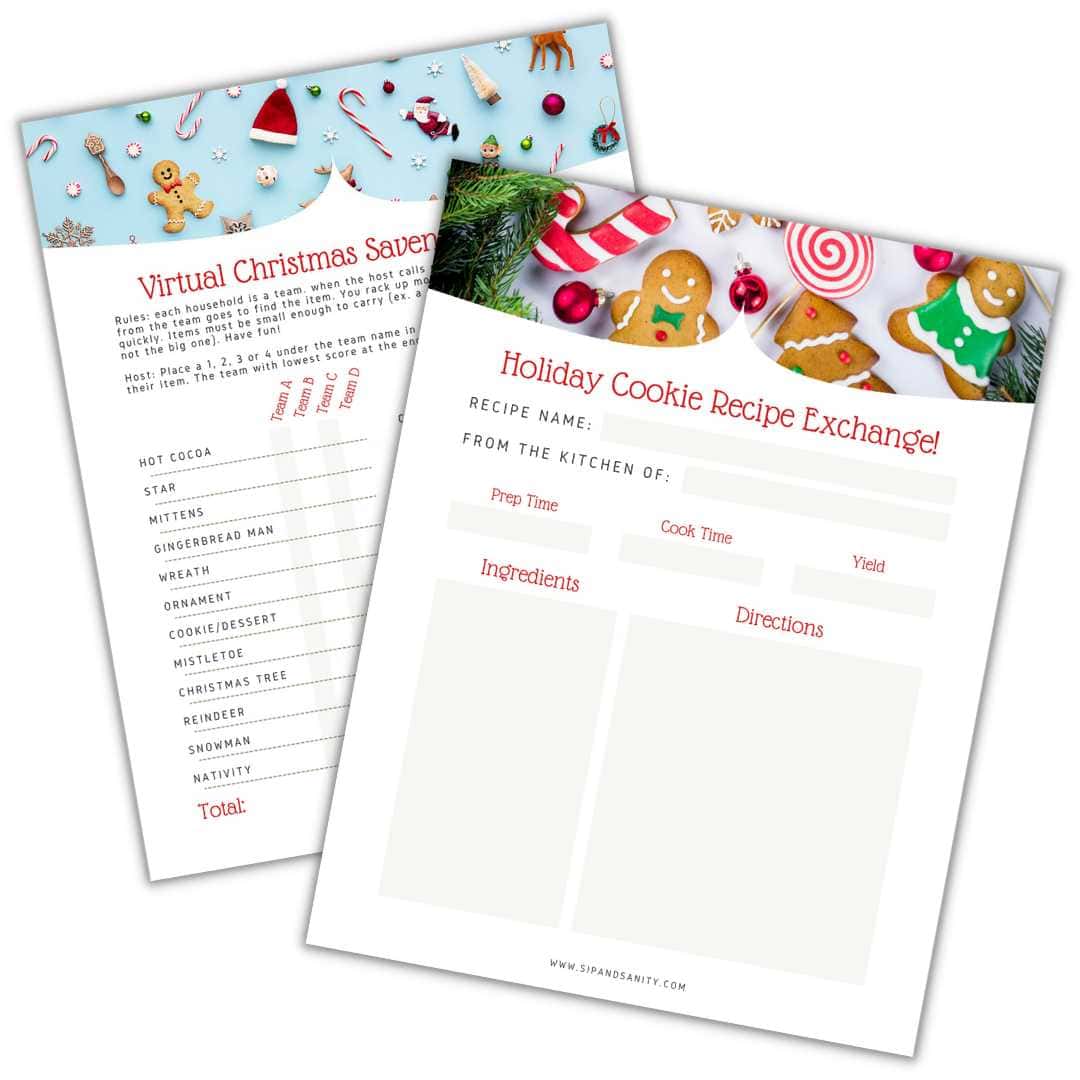
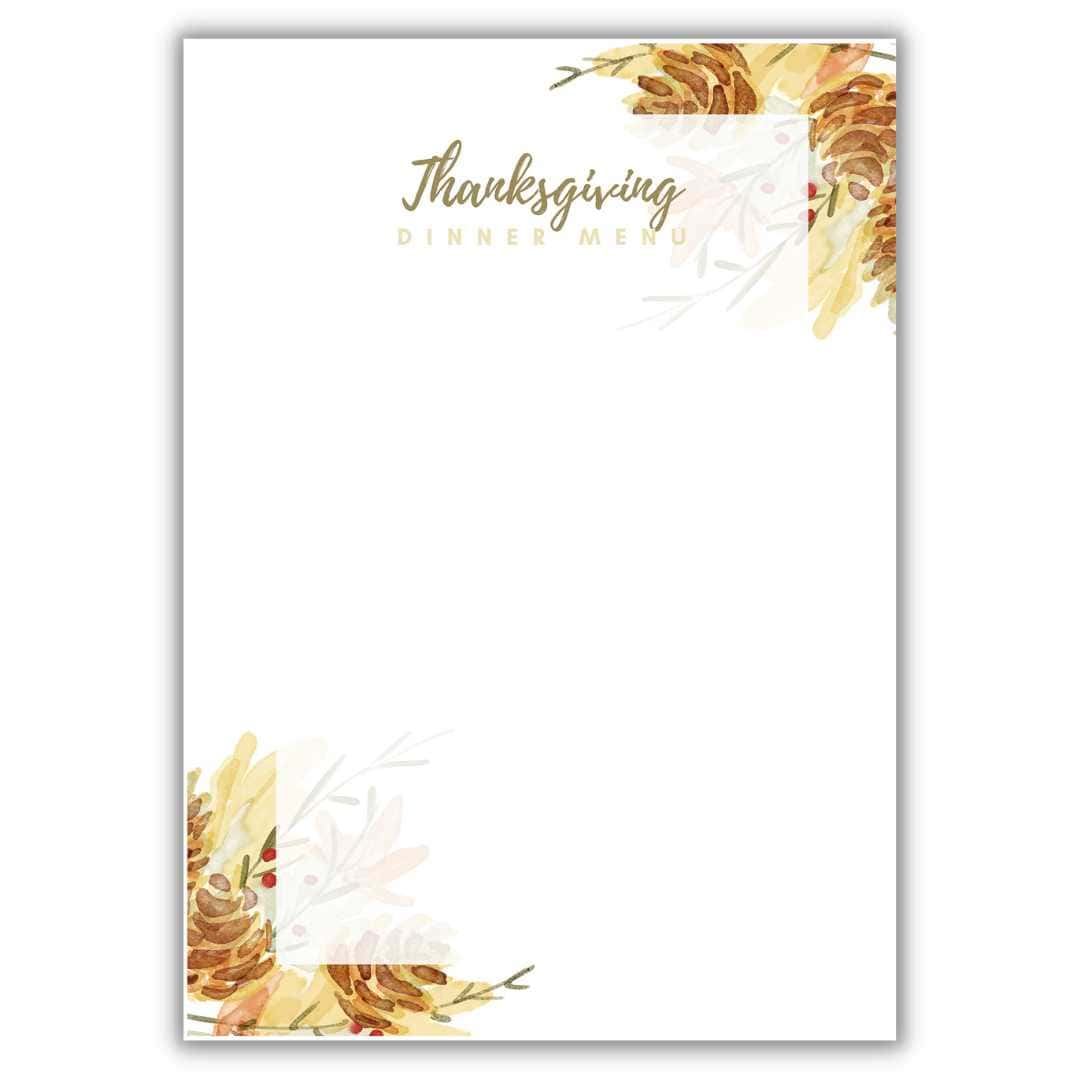
Holidays + Parties

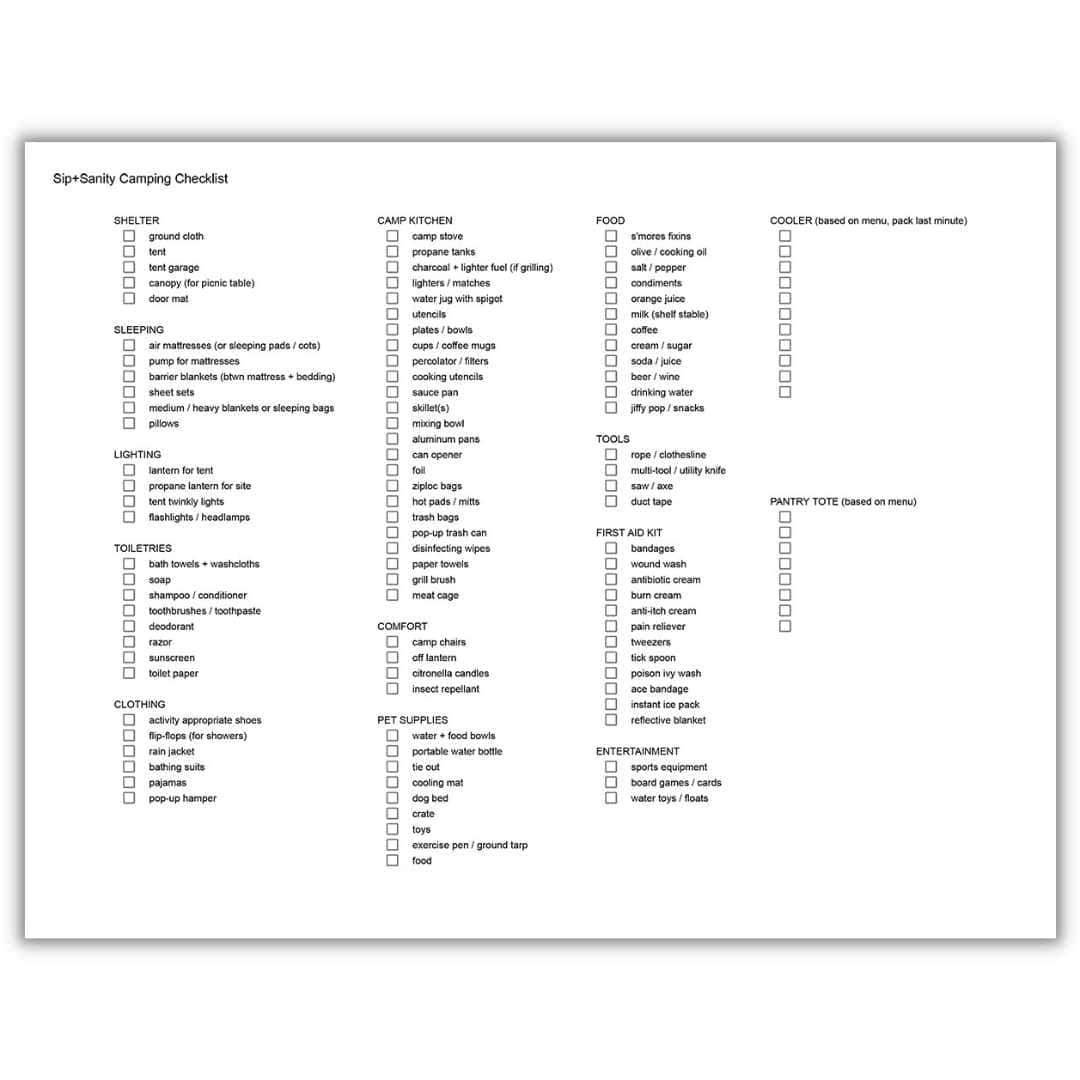
Travel